
5 fun experiments to teach your kids about thermal energy.
Tired of the chorus of “I’m booooored,” radiating from your kids’ quarters? Build a solar updraft tower, conduct a cooler contest, bake ice cream, create an endothermic reaction, or make a thermometer. These five fun, safe and inexpensive experiments should keep everyone (supervision is always a good idea) productively occupied — for the afternoon, at least.

Build a solar updraft tower.
At full scale, solar updraft towers generate electricity by harnessing the sun’s power. They consist of a central stem that’s surrounded by a greenhouse-like structure. The warmed air rises through the stem, or core, and spins power-generating turbines.
Our version applies the same principles but at table-top scale.
Gather your scientific equipment:
- Black construction paper (about 20 x 20 inches)
- Smaller piece of construction paper (any color)
- Pencil
- Scissors
- Tape
- Piece of modeling clay, formed into a ball
- Wooden skewer
- Plastic needle or toothpick
- Instant read thermometer
- Lamp with incandescent light bulb or heat lamp
- Paper
- Optional: sunshine, and a wind-protected area outside
- Optional: timer
- Optional: white construction paper
Let’s get started:
- Roll your black construction paper into a tapered cone, with a 2” opening at the top, and a 4” opening at the bottom.
- Cut three more-or-less equally distanced, equally sized (approximately 2” long by half an inch tall) arches out of the bottom of your cone. These are your air inlets.
- Use this template to cut a 3” propeller out of construction paper. Bend your “blades” to a 45-degree downward angle.
- Carefully tape a plastic needle or toothpick to a wooden skewer with the pointy end facing upwards.
- Stick the base of the needle-topped skewer into the clay ball and center the black cone over the clay ball.
- Place the propeller on top of the needle. It should be balanced and able to turn freely, like a ceiling fan.
- Record the air temperature inside your tower.
- Now, place a utility lamp with an incandescent light bulb (incandescent bulbs use more energy and generate more heat; that’s why you should use LED bulbs for your home’s lighting fixtures) or a heat lamp at the base of the tower.
- After five minutes, record the air temperature inside your tower and observe what’s happening!
Visit ScienceBuddies.org to learn more about what happened and why!
Conduct a cooler contest.
Ever wondered how coozies keep your cola cold? Mystery solved! For an added dash of sibling rivalry, make two coolers and see which one is the coolest.
Gather your scientific equipment:
- 2-4 equally sized, large plastic food storage containers (one will need a tight-fitting lid).
- 2-4 small plastic food storage containers (they will need to fit comfortably, with room to spare, inside the large containers.
- Similarly sized ice cubes.
- Insulating materials such as cotton balls, bubble wrap, or craft feathers (you’ll need enough to mostly fill your large containers.
Let’s get started:
- Identify a flat, sunny outdoor surface — like a picnic table or sidewalk.
- Fill one of the large plastic containers with one of your insulating materials. This is your “cooler.”
- Place the smaller container in the middle of the larger containers and place an ice cube in each of the smaller containers.
- Quickly put the lid on top of your cooler container.
Which ice cube do you think will last the longest? If you made two coolers with different insulation, which cooler do you think will keep the ice cube cool the longest? How do you think your cooler’s insulation is like the insulation in your home?
SOURCE: Science Buddies
Bake your ice cream.
Generally, we don’t recommend eating your experiments. This is an exception to the rule.
Gather your scientific equipment:
- Mixing bowl
- 3 eggs (at room temperature)
- Cream of tartar
- Salt
- Vanilla extract
- Superfine sugar
- Whisk or electric mixer
- Store-bought cupcakes of your choice (ALT: sponge cake)
- Ice cream
- Parchment paper
- Baking sheet
- Oven
Let’s get started:
- Preheat your oven to 400° F
- Cut the top half of your cupcakes off and place the bottom half on a parchment-lined baking sheet. (Gee, whatever will you do with the tops?)
- Separate the three eggs. (TIP: Have your lab partner crack an egg into your hand and then gently move the yolk from one hand to the other. Let the whites drip into your experiment bowl and put the yolk in a different bowl.)
- Using a whisk or electric mixer, mix the egg whites with ¼ teaspoon cream of tartar, ¼ teaspoon salt, and ½ teaspoon vanilla. Continue mixing until the whites begin to stiffen and can form peaks. This may take a while, but don’t give up, it’s super cool!
- After your meringue (your flavored egg whites) has taken shape, slowly and gradually stir 1 cup of superfine sugar into your meringue.
- Quickly add a small scoop of ice cream to each cupcake half. Be sure the ice cream does not touch the edges of the cupcake.
- Quickly coat each cupcake/ice cream combo with the meringue foam. Make sure the meringue covers the cake and ice cream completely!
- Place the baking sheet on the bottom rack of the oven and set the timer for 10 minutes. Turn the oven light on and check every three minutes to make sure that the meringue is not burning or browning too quickly.
What part of this experiment is acting as insulation?
SOURCE: Scientific American
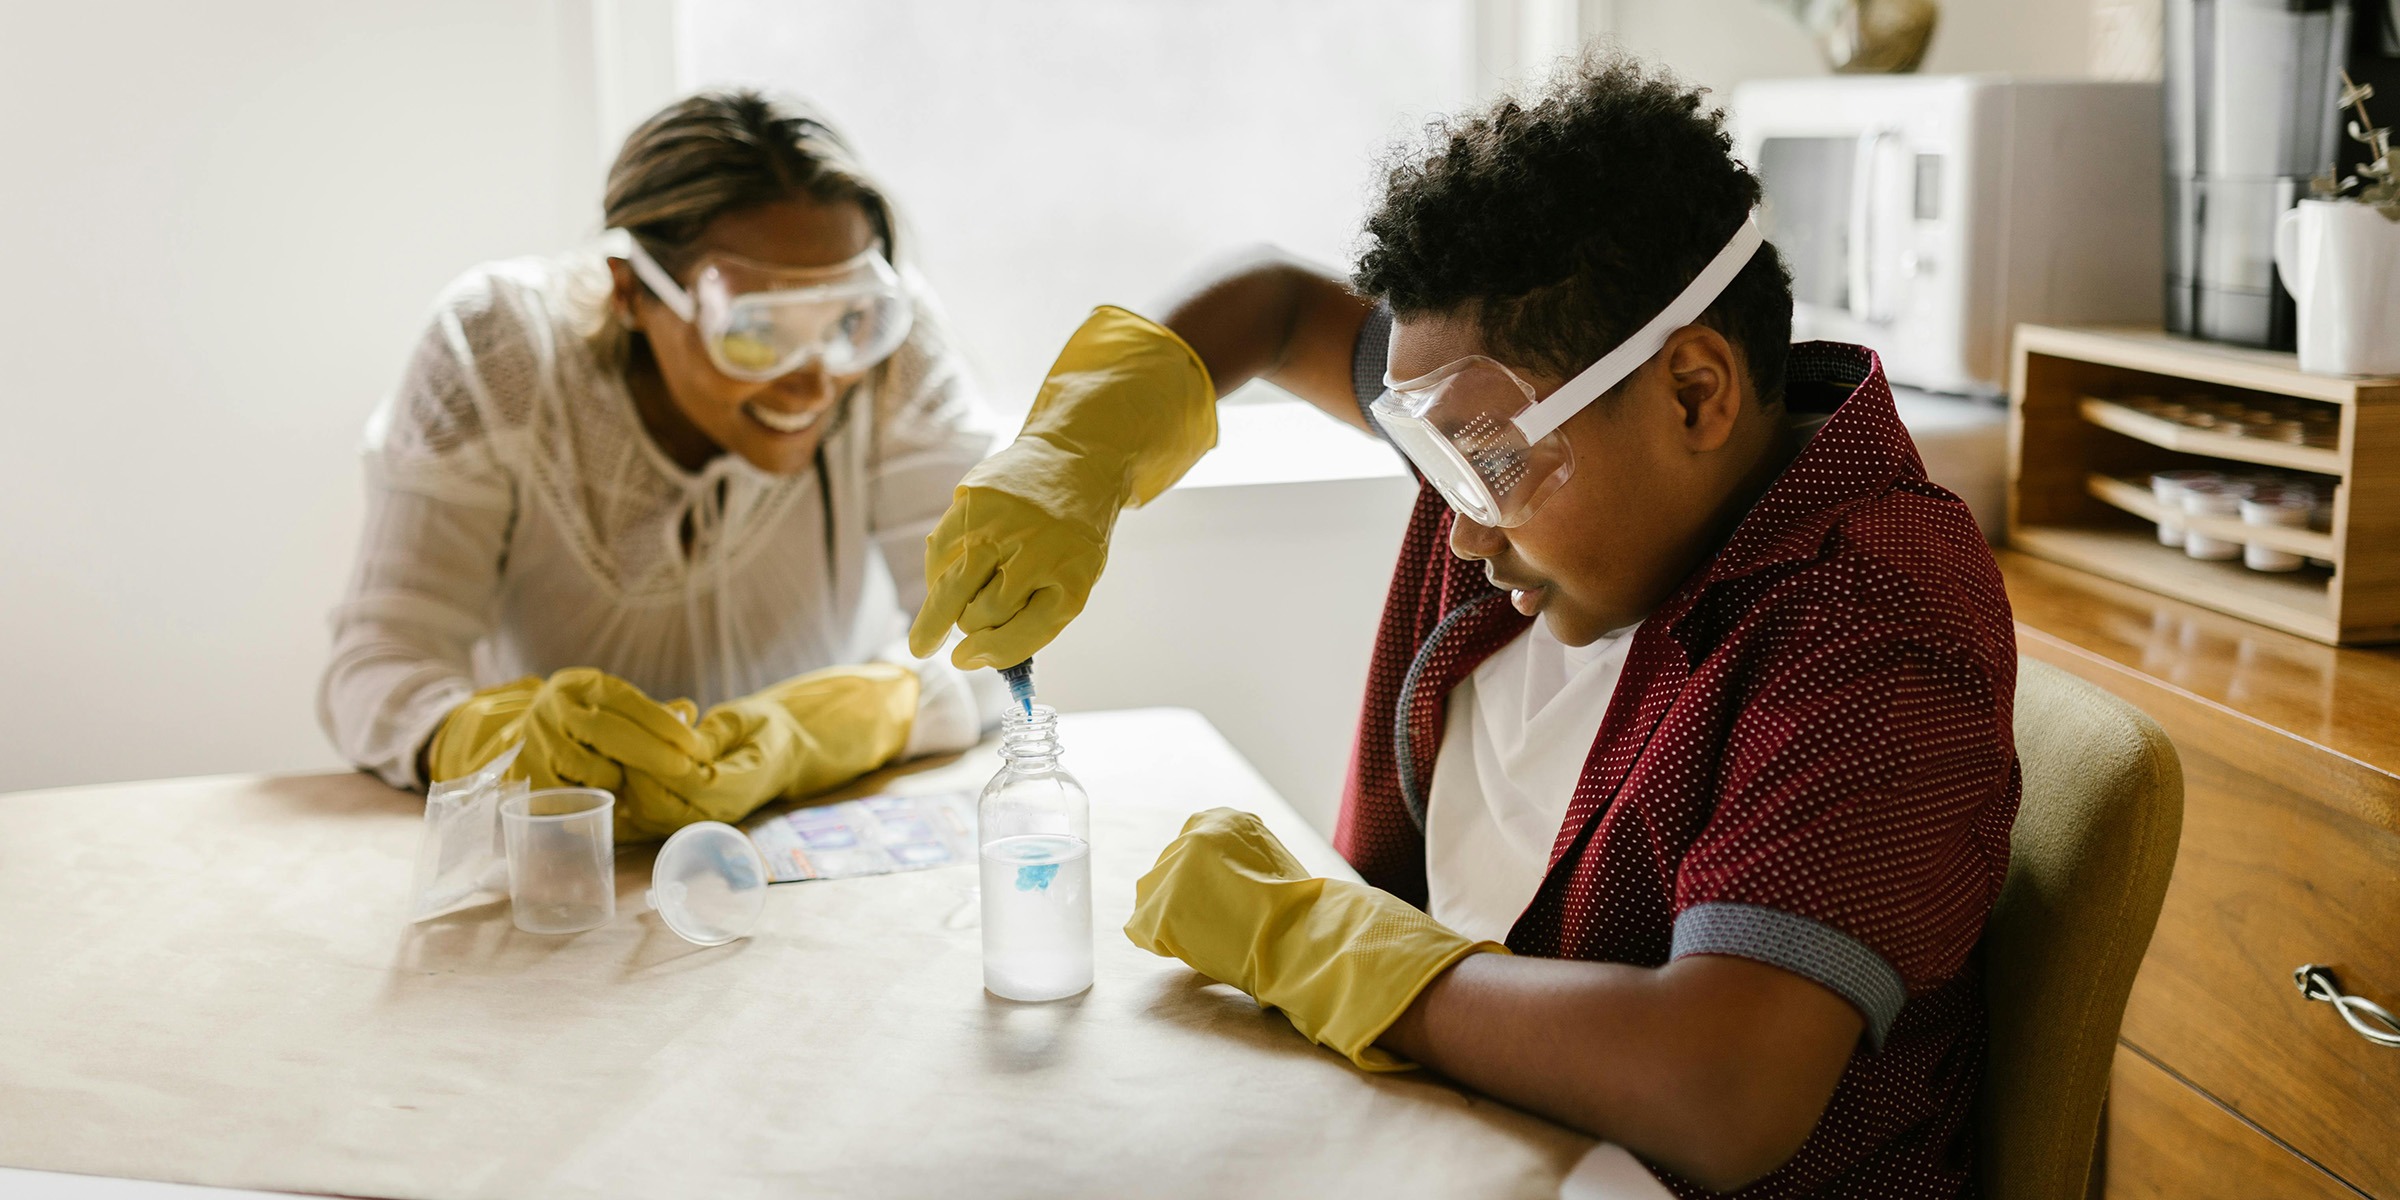
Create an endothermic reaction.
See how reactions move energy around! We recommend using the kitchen sink as your laboratory.
Gather your scientific equipment:
- Insulated cup
- Instant read thermometer
- Distilled white vinegar
- Baking soda
- Measuring cup
- Tablespoon
Let’s get started:
- Pour ¼ of a cup of vinegar into your insulated cup. Measure and record the temperature of the vinegar.
- Gradually add 1 tablespoon of baking soda into the cup and gently stir with your thermometer.
- Record your observations of temperature changes over time. Does the solution get hotter or colder as the reaction is occurring?
Source: Fizzics Education
Make a thermometer.
Definitely do NOT put this experiment to the taste test!
Gather your scientific equipment:
- Mason jar with straw lid
- Clear straw
- Play dough or modeling clay
- Water
- Rubbing alcohol
- Cooking oil (any kind)
- Food coloring
- Permanent marker
Let’s get started:
- Mix ¼ cup water, ¼ cup rubbing alcohol, a few drops of food coloring and a tablespoon of cooking oil in the mason jar.
- Make marks along the bottom half of your straw at half-centimeter intervals.
- Put the lid on and drop the straw into the mixture.
- Mold the play dough around the straw, sealing any gaps around the straw and holding the straw about ½” off the bottom of the jar.
- Place your thermometer outside in a sunny place and wait 10-20 minutes. Observe what happens.
- Next place it in a bowl of ice. Observe.
SOURCE: wikiHow
Related stories
-
 Residential
What to expect from a free Home Energy Evaluation.
View moreA professional home energy audit — like our Home Energy Evaluation — is a great first step in assessing how much energy your home uses and figuring out what to do about it. Maybe you’re surprised by how much energy your home uses, perhaps you’re mystified by a draft in the hallway. Or, maybe you’re […]
-
 Residential
5 ways to maximize the efficiency of your heat pumps and ductless mini splits.
View moreIf your HVAC system is 10-15 years old and you’re proactively considering replacing it, you may be exploring heat pumps. Ductless mini splits as well as ducted dual fuel and air source heat pumps are all great options for our seven state region. As you consider your HVAC replacement options, here are a few practical […]
-
 Residential
What’s a dual fuel heat pump?
View moreWhen the weather can’t commit, your heat pump can. Here in the Tennessee Valley region, we’re all quite familiar with weeks that keep you on your toes temperature-wise. You know, those weeks when Mondays have you ramping up the air conditioning and Wednesday has you firing up the heat. Don’t even get us started on […]